Using Custom CarryMap Apps with Android Mobile Devices
Part of the Small Entity Compliance Guide for Fishery Restriction Areas
1. Install the FREE CarryMap Observer App from the Google Apps page
2. Once CarryMap is installed, select the map files you want to have on your device. All map files
can be found on the following NOAA webpage:
https://alaskafisheries.noaa.gov/mapping/smallentitycompliance/filesNew.html
Note that if you
are installing on an Android device you should only select files that end in .CMF. You will find
the following compatible map files on the webpage listed above:
AtkaMackerel-Restrictions.CMF
(Restriction map for Atka mackerel directed fishing)
Habitat-Restrictions.CMF (Habitat restrictions for multiple gear types and fisheries)
Pacific-Cod-Non-Trawl.CMF (Restriction map for Pacific cod non-trawl directed fishing)
PCod-Trawl-and-Other Restrictions.CMF (Restriction map for Pacific cod trawl directed
fishing)
Pollock-Fishery-Restrictions.CMF
(Restriction map for pollock directed fishing)
State-Stat-Fed-Reporting-IPHC.CMF (Map showing all ADF&G statistical areas, NMFS
reporting areas, and IPHC areas)
3. Move the files to your device using one of the following methods:
a. From the same device with CarryMaps installed, click on the map files on the
webpage above.
b. Move the CMF map files via DropBox or similar application.
c. Email the CMF map files to yourself. Open the email on the device with CarryMaps
and download attachment.
4. Open the map *.cmf file on your mobile device using the icon and locate your map
.cmf file in your Downloads folder.
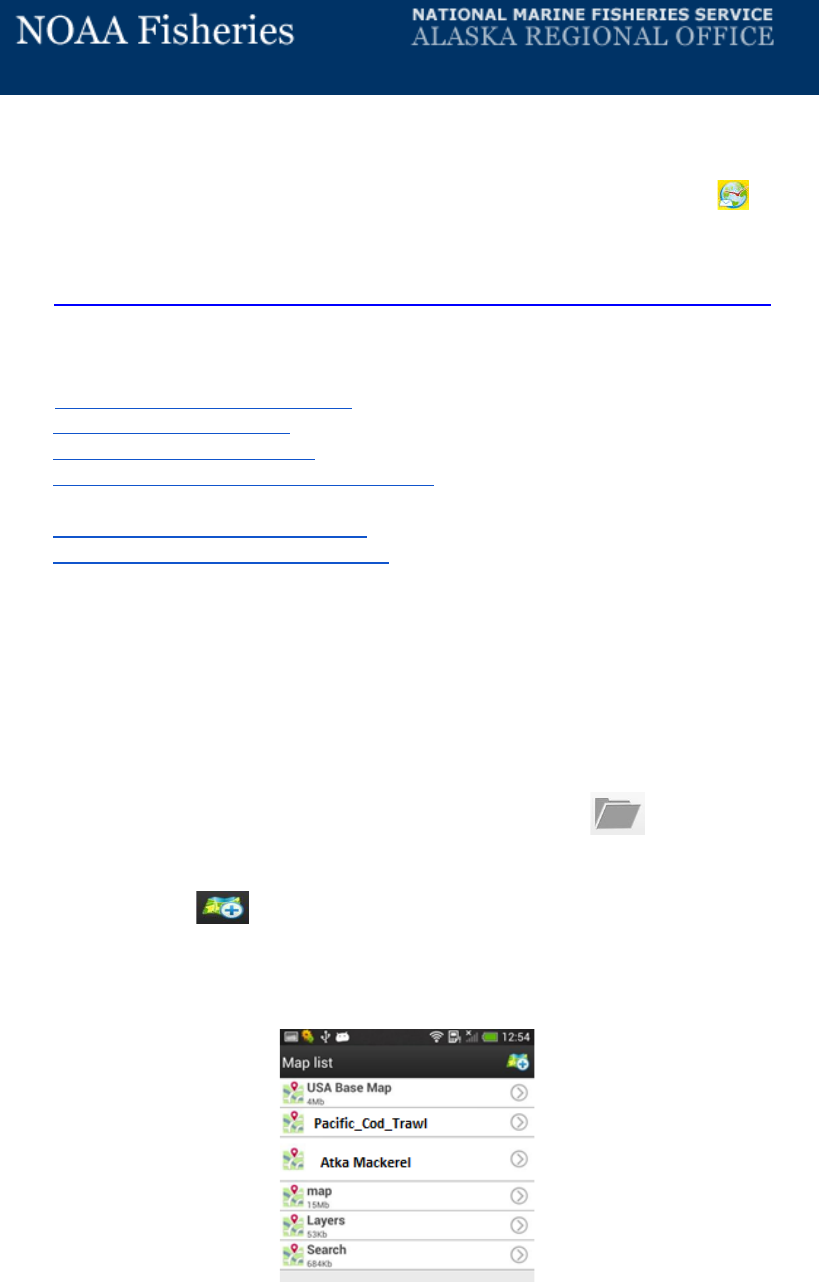
5. Tap the button and select the saved map. It is now loaded to the CarryMap
Observer application and will be listed as an available map to view in the application.
You can check this by opening CarryMap and clicking on the map list to view all available
maps.

NOTE: You can have several map files on your device simultaneously, but only one map can be displayed at a time in the
CarryMaps application.
6. Open the CarryMap application and select a map from the map list. The map should display
and you can start identifying restriction areas, or use the Menu to select a specific action.
7. Zoom in/out and pan your map using pinch and swipe gestures.
8. Get back to the full page view by touching the Home button.
9. You can rotate the map by touching the map and rotating your fingers. When your map is
rotated, the north arrow becomes enabled and rotates.
10. Distance can be measured in kilometers or miles. Go to Menu and Settings to select the
units. This distance calculation should only be used as an estimated distance.
11. Zooming to specified Latitude and Longitude coordinates located under “Go to XY” in the
Menu
a. A point’s coordinates can be entered in decimal degrees, decimal minutes, or degree
minutes and seconds. Use spaces between values when adding coordinates.
b. When adding coordinates with a western longitude (most of Alaska) add the
negative sign (-) or the letter W before the longitude value. On the western side of
the 180th meridian (western half of Reporting Area 542 and all of 543) use E or a
positive longitude value.
12. Identifying Features/Restriction Areas within the map
a. When you touch an area on the map, a dialog box appears with brief information
about the area you touched. Click on the button in the dialogue box. This will

open another box with more descriptive information on any restrictions and links to
updated regulations.
Note: The most restrictive fishery restriction measure is illustrated on the map. For instance, the 3nm No
Transit zones take precedence over the habitat conservation and protections areas and the Steller sea lion no
trawl areas.
13. GPS positioning
a. To enable the GPS location option through CarryMap touch the button. The
point indicating your current location will be shown on the map. If coordinates of
your current location are beyond the current map’s extent, a warning message
appears. Note that the Android device you are using must also have GPS on.
14. Adding pushpins
a. Go to Menu and select the “
Add pushpin to my location” option to put a
pushpin on the map at your current location.
GPS must be enabled on your device
and in CarryMaps in order to do this. A pushpin dialog box will appear where a
pushpin name and a description can be entered, if desired.
b. You can also add pushpins to points with specified coordinates. Go to Menu
and select “
Go to XY”. Enter the longitude and latitude where you want the pushpin.
Ensure that the “add pushpin to this location” toggle is switched on. Once entered
click “done”.
A pushpin dialog box will appear where a pushpin name and a
description can be entered, if desired.
c. Pushpins can be added to the map by touching and holding the place on the map you
want the pushpin. A dialogue box will open. Select “add pushpin to point” and enter
desired name and description for the pushpin. The pushpin is created at the point
you touched.
d. If you have an external KML file with locations where you want to create pushpins in
CarryMap, the KML file can be imported to create the pushpins. Go to Menu .
Select “Pushpins” and click on the “import” button. Pushpins can also be exported to
an external KML file using this same method.
Instructions adapted from http://www.dataeast.com/en/pdf/CarryMap%20Observer%20functionality_Android_en.pdf
